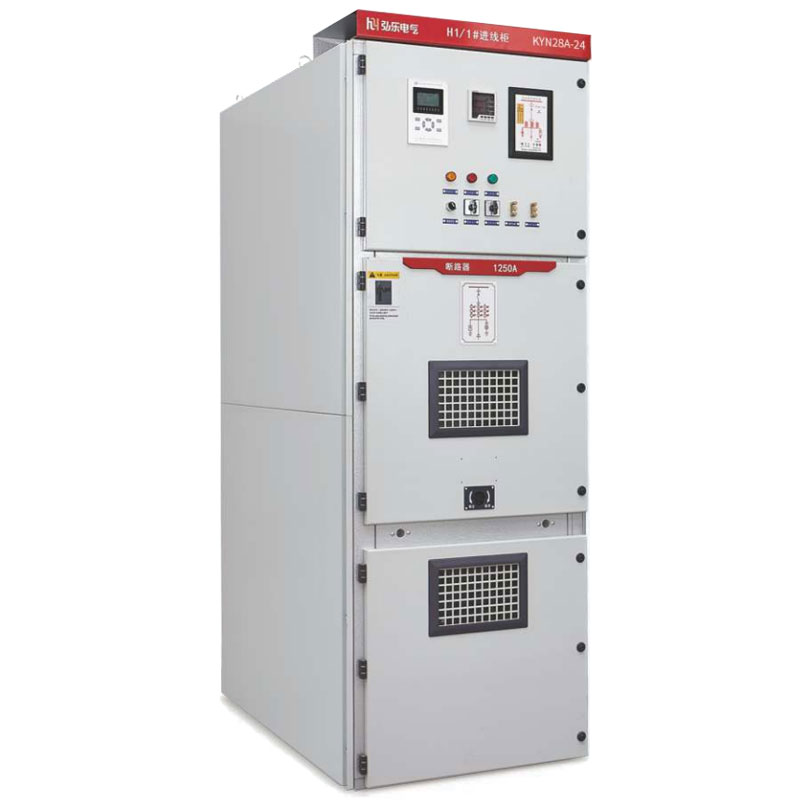

What Causes a High Voltage Vacuum Circuit Breaker to Fail to Close or Open?

 Site Editor
You send a close command. Nothing happens. You initiate a trip. The mechanism stays frozen. For anyone responsible for power distribution equipment, few situations are more frustrating—or more urgent—than a high voltage vacuum circuit breaker that refuses to operate when called upon.
A high voltage vacuum circuit breaker is designed for reliable, frequent operation under demanding conditions. But like any electro-mechanical device, it can develop faults over time. When a breaker fails to close or open, the consequences range from production downtime to serious safety risks. Understanding what typically goes wrong—and how to diagnose it—can save hours of troubleshooting and prevent costly equipment damage.
This guide walks through the most common failure mechanisms behind a high voltage vacuum circuit breaker that won’t close or open, and offers practical steps to get your system back online.
The Control Circuit: Where to Start Your Diagnosis
Before assuming a mechanical failure, check the control circuit. A surprising number of “breaker won’t operate” cases trace back to something as simple as a power supply issue.
Low or missing control voltage is one of the most frequently overlooked causes. If the closing or tripping coil isn’t receiving adequate voltage, the solenoid simply won’t actuate. Blown fuses, tripped control circuit breakers, or loose secondary disconnect contacts can all interrupt the signal path.
Another common culprit: the anti-pumping relay. This device prevents the breaker from repeatedly cycling open-close-open-close in rapid succession—a phenomenon known as “pumping” that can destroy the mechanism and weld contacts. A faulty anti-pumping relay can lock out closing operations entirely, leaving operators wondering why the breaker won’t respond.
If electrical signals are normal but the breaker still won’t operate, it’s time to look at the mechanical side of things.
Mechanical Binding and Linkage Wear
A high voltage vacuum circuit breaker relies on a precise sequence of mechanical movements to close and open its contacts. When something binds or wears, the whole operation stalls.
The most common mechanical failure point is the linkage system—the universal joints, pins, and levers that transfer motion from the operating mechanism to the vacuum interrupters. Over time, these components develop play or excessive clearance. The solenoid may fire, the latch may release, but the mechanism simply doesn’t drive the contacts into position.
Worn or misaligned contacts, spring mechanism fatigue, and insufficient lubrication are also frequent offenders. Environmental factors accelerate this wear: dust accumulation, moisture ingress, and corrosion all degrade moving parts over time. In outdoor installations, rainwater can even enter the mechanism box and cause insulation failure between auxiliary switch contacts—leading to unexpected behavior or complete refusal to operate.
When a high voltage vacuum circuit breaker exhibits sluggish operation or unusual noises during closing attempts, mechanical wear is almost certainly the cause.
Spring Charging and Energy Storage Failures
Many medium- and high-voltage vacuum circuit breakers use spring-charged operating mechanisms. The closing spring must store sufficient kinetic energy before the breaker can close. If the spring isn’t charged, the breaker won’t close—no matter how many times you press the button.
Spring charging failures typically stem from the motor or its control circuit. The charging motor runs until a limit switch signals that the spring is fully charged. If that limit switch fails to actuate—due to misalignment, jamming, or a worn mechanical linkage—the motor may run continuously without ever completing the charge cycle. Alternatively, the motor may not run at all if its power supply is interrupted.
Some operators mistakenly assume the breaker is ready when the spring status indicator shows “charged,” but the indicator itself can fail. Always verify spring charge mechanically before attempting a close operation.
Vacuum Integrity: The Hidden Failure Mode
Here’s a scenario that catches many maintenance teams off guard: the high voltage vacuum circuit breaker closes and opens normally under no-load conditions, but fails to interrupt a fault current when it matters most.
The issue often lies inside the vacuum interrupter itself. Each interrupter is a sealed ceramic envelope containing the contacts under high vacuum. That vacuum is what extinguishes the arc when the contacts separate. If the vacuum is compromised—through a cracked ceramic envelope, degraded seals, or simple aging—the dielectric strength drops dramatically.
A breaker with partial vacuum loss may still operate mechanically but fail to clear a fault. This is why routine vacuum integrity testing—using high-potential or insulation resistance tests—is essential for any high voltage vacuum circuit breaker in critical service. Without it, you’re trusting a device that may have lost its primary arc-quenching capability.
Auxiliary Switch and Coil Faults
The auxiliary switch provides feedback to the control system about the breaker’s position. When its contacts fail—due to burning, pitting, or moisture damage—the control circuit may not receive the correct signals.
This can manifest in several ways. A faulty auxiliary switch may prevent the closing coil from energizing, or it may interrupt the closing sequence prematurely. In some cases, the breaker closes but immediately trips because the auxiliary switch signals an incorrect position.
Coil failures are another common issue. Closing and tripping coils can burn out from prolonged energization—for instance, if an operator holds the close button too long while the breaker is mechanically blocked. Coil resistance should be checked whenever a breaker fails to respond to electrical commands.
What to Do When Your Breaker Won’t Operate
When faced with a high voltage vacuum circuit breaker that refuses to close or open, a systematic approach beats random component swapping every time.
Start with the control circuit. Verify control voltage at the coil terminals. Check fuses, circuit breakers, and secondary disconnect contacts. Confirm that interlock conditions—such as the truck position or ground switch status—are satisfied.
Move to the mechanical system. Inspect all linkages for wear, deformation, or excessive clearance. Verify that the closing spring is fully charged. Listen for unusual noises during operation attempts—binding often produces audible clues.
Check the auxiliary switch and anti-pumping circuit. Confirm that auxiliary contacts are clean and properly adjusted. Verify that the anti-pumping relay hasn’t locked out the close command.
Test vacuum integrity if interruption failures are suspected. A portable vacuum tester or high-potential test can reveal whether the interrupter has lost its dielectric strength.
And always follow manufacturer guidelines and safety protocols during troubleshooting. High-voltage equipment demands respect—never work on a live breaker or defeat safety interlocks.
Summary
A high voltage vacuum circuit breaker that won’t close or open is rarely caused by a single, obvious failure. More often, it’s the result of control circuit issues, mechanical wear, spring charging problems, or degraded vacuum integrity.
What to take away:
- Always verify control voltage and circuit continuity before assuming mechanical failure
- Inspect mechanical linkages for wear, binding, and proper lubrication
- Confirm spring charge status and limit switch operation
- Test vacuum integrity periodically—don’t wait for a fault to reveal a compromised interrupter
- Document maintenance intervals and test results to track degradation over time
Need help diagnosing your high voltage vacuum circuit breaker?
Whether you’re troubleshooting an existing unit or planning a replacement, our team can help. Contact us to discuss your specific application, maintenance practices, or configuration needs for your next high voltage vacuum circuit breaker project.