How to install a transformer for low voltage lights?

 Site Editor
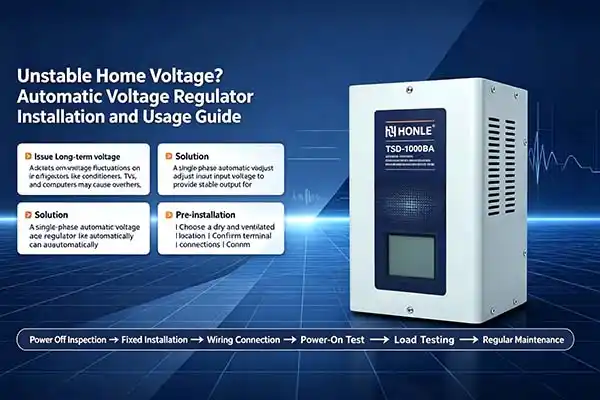
Installing a transformer for low-voltage lighting systems is a straightforward project for DIY enthusiasts, but it requires careful planning and attention to safety. Whether you're setting up landscape lighting, under-cabinet fixtures, or accent lights, following these steps will ensure a safe and reliable installation.
![]()
1. Select the Right Transformer
Voltage and Power Requirements
Low-voltage systems typically operate at 12V or 24V AC. First, confirm the voltage requirement of your lights (most common is 12V). Next, calculate the total wattage of all connected fixtures. The transformer's rated power should be 10-20% higher than this total to prevent overload. For example, a 150W transformer is ideal for a 120W lighting setup.
Transformer Types
Plug-in Transformers: Best for temporary or easy-to-access installations (e.g., indoor setups, small outdoor gardens). They connect directly to a standard outlet.
Hardwired Transformers: Used for permanent installations, especially outdoors. These connect to your home's electrical system and require professional wiring if you're unsure about electrical work.
Weatherproof Rating: Always choose an outdoor-rated transformer for exterior use, even if plug-in. Look for IP65 or higher ratings to withstand moisture and dust.
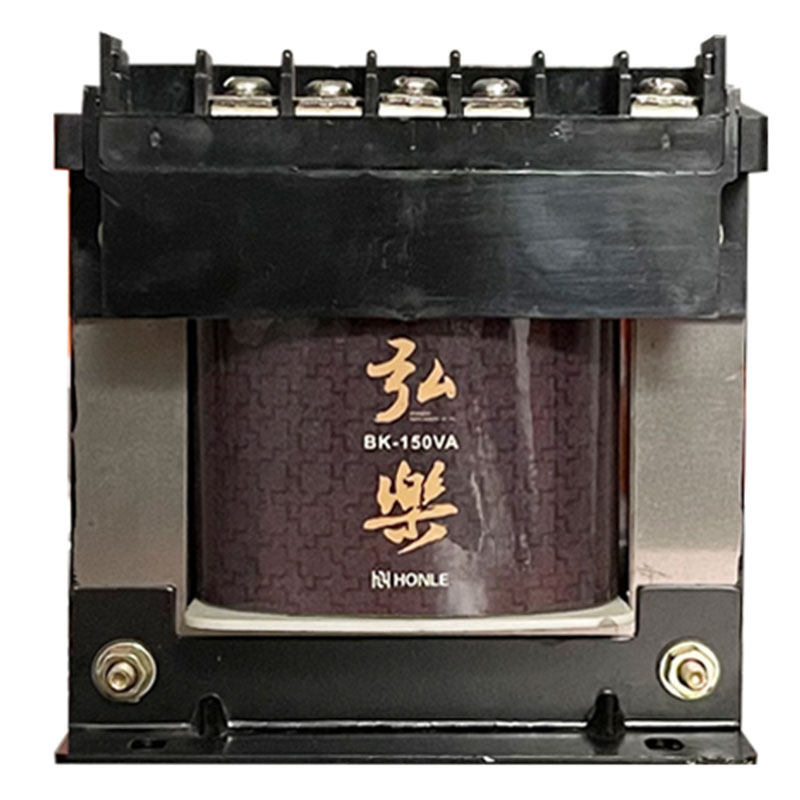
JBK3 Industrial Low Voltage Machine Control Transformer
2. Gather Tools and Materials
Essential Tools
Screwdrivers (Phillips and flathead)
Wire stripper/cutter
Voltage tester or multimeter
Electrical tape or waterproof wire connectors (for outdoor use)
Mounting hardware (brackets, screws, anchors)
Conduit or cable clips (for wire management)
Materials
Low-voltage transformer (matched to your system)
Low-voltage wire (16-18 gauge for short runs; 12-14 gauge for longer distances to reduce voltage drop)
GFCI outlet (for outdoor hardwired setups)
Grounding wire (if required by local codes)
3. Plan the Installation Location
Indoor Installations
Choose a dry, ventilated area like a basement, closet, or utility room. Ensure the location is away from water sources and heat (e.g., radiators or water heaters) to prevent overheating.
Outdoor Installations
Mount the transformer on a sturdy surface (wall, post, or dedicated transformer box) at least 12 inches above ground level to avoid flooding.
Use a GFCI-protected outlet for plug-in transformers outdoors. For hardwired models, consult local electrical codes for grounding and weatherproofing requirements.
4. Install the Transformer
Step 1: Power Off and Safety Check
Turn off the circuit breaker for the installation area. Use a voltage tester to confirm no power is present in the wiring before proceeding.
Step 2: Mount the Transformer
Secure the transformer to the wall or post using its included brackets. Ensure it's level and firmly attached to prevent vibrations.
Step 3: Connect High-Voltage Input Wires
Identify Wires: Most transformers have "LINE" terminals for 120V/240V input (black = hot, white = neutral, green/bare = ground).
Strip and Connect: Strip ½ inch of insulation from the household wires. Attach the hot wire to the "LINE" or "HOT" terminal, the neutral to "NEUTRAL," and the ground to the grounding screw (if applicable).
Tighten Connections: Ensure terminals are secure to avoid arcing. Use wire nuts or electrical tape to insulate exposed wires.
Step 4: Connect Low-Voltage Output Wires
Prepare Cable: Cut low-voltage wire to length, leaving extra slack for adjustments. Strip ¼ inch of insulation from the ends.
Attach to Transformer: Connect the wires to the "LOAD" or "OUTPUT" terminals (polarity doesn't matter for AC systems, but maintain consistency).
Route Wires: Use conduit for outdoor installations or cable clips indoors. Avoid running wires under walkways or through damp soil; use PVC pipe for underground runs (buried at least 6 inches deep).
5. Connect Low-Voltage Lights
Wiring Lights
For each fixture, strip the wire ends and connect them to the main low-voltage cable using waterproof connectors (outdoor) or twist-on caps (indoor).
Connect lights in parallel (not series) to ensure each receives full voltage. Series connections can cause uneven brightness or failure.
Fixture Installation
Attach lights to their mounts (e.g., stakes for landscape lights, brackets for wall sconces). Ensure all connections are tight and insulated.
6. Test and Finalize
Voltage Check
Use a multimeter to test the transformer's output voltage (should match the rated value, e.g., 12V). A slight drop (1-2V) is normal for long runs but avoid exceeding 5% voltage drop.
Power On and Inspect
Restore power at the circuit breaker or plug in the transformer.
Test each light to ensure they function. Check the transformer for excessive heat (warm is normal, hot is a warning sign) or unusual noises—turn off power immediately if issues arise.
Secure and Weatherproof
For outdoor setups, seal wire connections with silicone gel or waterproof tape. Use conduit covers to protect exposed wires.
Label the transformer with its voltage, wattage, and connected fixtures for future reference.
Safety Tips and Common Pitfalls
Never Overload: Exceeding the transformer's wattage rating can lead to overheating or fire. Round up to the next available size (e.g., 200W for a 180W load).
Ground Properly: Hardwired outdoor transformers must be grounded per local codes—consult an electrician if unsure.
Outdoor Protection: Use GFCI outlets for all outdoor installations to prevent electric shock. Avoid burying plug-in transformers; keep them elevated and covered.
Voltage Drop Prevention: Use thicker wire (lower gauge) for long distances (e.g., 12-gauge for runs over 100 feet) to maintain consistent brightness.
Conclusion
Installing a low-voltage transformer is a practical way to enhance your space with safe, energy-efficient lighting. By choosing the right equipment, following proper wiring techniques, and prioritizing safety, you can enjoy a reliable system for years. If you're unsure about electrical work, especially with hardwired setups, don't hesitate to consult a licensed electrician to ensure compliance with codes and minimize risks. With careful planning, your low-voltage lighting will shine brightly and safely!